Dark Circle Concealer Works Best When You Treat the Under-Eye Like a Map
Covering dark circles like a pro is less about owning the thickest concealer and more about knowing exactly where darkness lives. The under-eye area has shadows, color, texture, hollows, puffiness, fine lines, and movement, and each one needs a different decision. A professional-looking result usually comes from correcting only the discolored zone, brightening the right inner-corner area, keeping product thin where the skin creases, and setting without turning the under-eye dry. Once you stop painting a large triangle and start reading the eye area in sections, concealer becomes cleaner, lighter, and much more believable.
A: Only if the darkness has a strong blue, purple, brown, or gray undertone that concealer alone does not balance.
A: Slightly lighter can brighten, but a very pale shade often makes circles look gray or obvious.
A: Creasing usually comes from too much product, too much slip underneath, or powder applied after lines have formed.
A: A brush is better for precise placement, while a sponge is useful for softening the edges.
A: Brighten the deepest shadow line lightly instead of covering the whole under-eye heavily.
A: Yes, too much powder can make the area look dry, gray, or textured.
A: Makeup can soften their appearance, but it may not erase structure or pigmentation completely.
A: Corrector can go before foundation, but final concealer usually looks best after the base is placed.
A: Use less corrector and keep it only on the discolored zone before layering concealer.
A: Use the smallest amount of the right undertone exactly where darkness is strongest.
Begin by Separating Color From Shadow
Dark circles are not all the same problem. Some are blue or purple because the skin is thin and the blood vessels show through. Some are brown because of pigmentation. Some look dark mainly because the tear trough creates a hollow that catches light badly. A concealer tutorial that treats all of those as one flat patch will usually create a heavy, obvious result.
Look in natural light before applying anything. Tilt the face slightly down, then straight ahead, and notice what changes. If the darkness moves when the light changes, shadow is a major part of the issue. If the color stays in the same place, discoloration needs more attention. That quick check keeps you from packing on product where placement would help more than coverage.
A pro approach often uses less concealer than beginners expect. The deepest color is usually concentrated near the inner corner, along the tear trough, or just under the lower lash line. The outer under-eye may need almost nothing. When you cover only the true darkness, the skin looks more real and less masked.
Choose Corrector by Undertone, Not by Trend
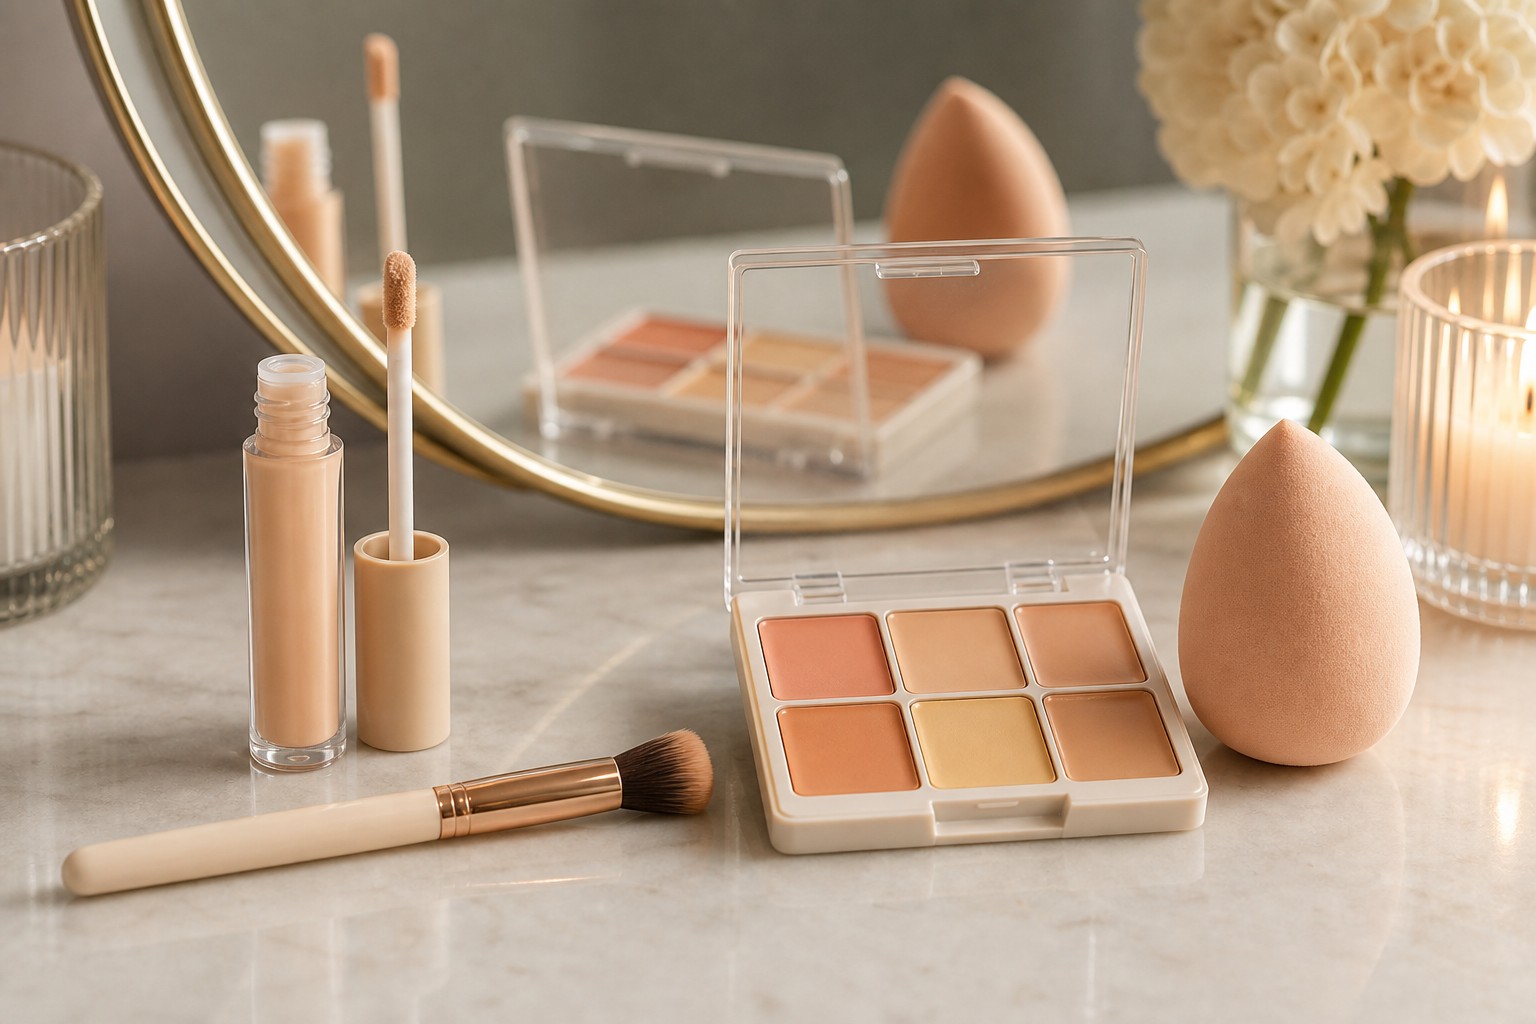
Color corrector can be useful, but it has to match the darkness. Peach and salmon tones can soften blue or purple shadows on many light to medium skin tones. Orange or deeper apricot correctors can help richer skin tones when the circle has a cool cast. Golden or warm caramel correctors may suit brown pigmentation better than a pink option. The right corrector should neutralize, not announce itself.
Use corrector sparingly. A thin veil placed only on the darkest area is usually enough. If the corrector is visible after blending, it is either too strong, too much, or too far outside the discolored zone. The concealer that follows should not have to hide a new orange or peach patch.
Skip corrector when the darkness is mild or when your concealer already has the right undertone. Adding a correction step because a tutorial says so can create texture and thickness you did not need. Corrector is a tool for specific color problems, not a mandatory ceremony.
A useful test is to apply corrector on one eye only and compare it before concealer. If the corrected side already looks calmer but not visibly peach, the undertone is probably close. If it looks like a separate color block, reduce the amount or choose a softer shade. This small comparison prevents the common mistake of using correction as a second layer of full coverage.
Place Concealer Where Brightness Actually Helps
The most flattering placement is usually smaller than the old triangle method. Try a small dot near the inner corner, a thin touch along the darkest tear-trough line, and a tiny lift at the outer corner if that area needs brightness. Leave the fullest part under the lower lash line thinner, because that is where product can gather when you smile or blink. Strategic space makes the finish look more professional.
If you have puffiness, avoid highlighting the entire bag. Bright concealer on the most raised part can make puffiness look larger. Instead, place a slightly brighter shade in the shadow just beneath the puff and keep the raised area closer to your skin tone. That creates a more balanced effect than covering everything with one pale stripe.
For deep hollows, placement matters more than coverage. A bright dot at the deepest shadow can visually lift the area, while thick concealer spread across the whole under-eye may emphasize the hollow’s edge. Blend the boundary carefully so brightness looks like light, not makeup.
Mature or textured under-eyes benefit from the same restraint. The smoother the skin can move, the better the concealer wears. Thin layers placed with intention look fresher than one opaque layer dragged from lash line to cheek.
The angle of the brush matters when working near the inner corner. Use the narrow side to place product beside the nose bridge, then turn the brush flat to soften the edge. That keeps brightness from spreading across the whole lower eye. The result looks more like rested skin than a highlighted mask.
Use the Right Tool for Each Zone
Fingers, brushes, and sponges all have different strengths. A fingertip can warm cream concealer and press it into the darkest inner corner with control. A small synthetic brush can place product exactly along the tear trough. A damp sponge can soften edges after placement without moving everything around. Pros often use more than one tool because the under-eye is not one flat surface.
Do not blend by wiping back and forth. Wiping spreads coverage away from the area that needed it and can irritate delicate skin. Press, tap, and feather the edges. If you need more coverage, add a pin-sized amount only where darkness remains instead of rebuilding the entire under-eye.
A brush is especially helpful when the darkness has a narrow shape. It can tuck product into the inner corner or follow a shadow line without coating surrounding skin. A sponge is better as a finisher than as the first placement tool when precision matters.
Control Texture Before You Control Coverage
Under-eye texture can make even a good shade look wrong. If the area is dry, concealer can cling to tiny flakes and look chalky. If the area is too slippery from eye cream, concealer can crease quickly. The best prep is a light, fully absorbed eye moisturizer or facial moisturizer used sparingly. The skin should feel comfortable, not greasy.
Give skincare a minute before makeup. Press away excess slip with a tissue if needed. If your under-eye always creases, the problem may be too much prep, too much concealer, or a formula that stays too emollient for your skin. More powder is not always the answer.
Fine lines are normal, and no concealer can freeze a moving face. The goal is flexible coverage. Thin layers, good placement, and minimal powder usually wear better than trying to plaster the area smooth. A soft finish is more realistic than a completely immobile one.
If concealer separates during the day, look at the layers underneath. Rich eye cream, sunscreen, primer, and concealer can all compete. Simplifying the base often improves wear more than switching concealers.
Set Only Where the Product Moves
Powder can save concealer, or it can ruin it. The under-eye needs enough setting to prevent movement, but too much powder can make circles look gray, dry, or older. Use a small brush or powder puff, pick up very little powder, and set only the areas that crease or transfer. The inner corner and lower lash shadow may need less than the outer edge.
Before powder, look up gently and tap out any creases with a fingertip or small brush. Powdering over a crease locks the crease in place. Once the concealer is smooth, press the powder lightly instead of sweeping it aggressively. Pressing keeps coverage where you put it.
Translucent powder is not always invisible under the eyes. On deeper skin tones, a tinted setting powder may look softer. On very fair skin, too much yellow powder can make the under-eye look dull. The best powder disappears into the concealer instead of changing its color.
For very dry under-eyes, try setting in two micro-zones rather than powdering the whole area. A touch at the inner corner and a touch where mascara transfers may be enough. Leaving the smoother outer area unset can keep the finish flexible. That selective approach is often what separates professional-looking concealer from heavy concealer.
If you prefer a powder puff, fold it so only a small edge touches the skin. This gives more control than pressing the whole puff under the eye. Use the smallest amount of powder that stops transfer. The under-eye should still look like skin when you blink.
Make the Rest of the Face Support the Under-Eye
Dark circle coverage can look strange when the rest of the face is bare or uneven. You do not need full foundation, but the surrounding skin should connect visually. A little complexion product around the nose, cheeks, or redness can make the brightened under-eye feel intentional. Balance is part of why professional concealer looks seamless.
Blush and bronzer can also help. When the face has dimension, the under-eye does not carry the whole job of making the complexion look awake. A touch of warmth on the cheeks can make concealer look less stark. Mascara or curled lashes can redirect attention upward, especially when the inner corner is brightened lightly.
Avoid over-lightening. Under-eyes that are two or three shades brighter than the face can look like reverse circles. For everyday makeup, choose a concealer close to your skin tone or only slightly brighter. Save dramatic brightness for full glam when the rest of the face has enough structure to support it.
Troubleshoot the Common Pro-Level Problems
If circles still look blue or purple, you may need a warmer corrector under the concealer. If the area looks orange, the corrector is too strong or not covered enough. If the under-eye looks gray, the concealer may be too light, too cool, or too opaque over pigmentation. If it looks cracked, reduce product and improve prep. Each problem points to a different fix.
If coverage disappears quickly, the formula may be too thin for the darkness, or skincare may be breaking it down. If it creases immediately, use less product and set only after tapping smooth. If texture appears only in photos, the powder or concealer may be reflecting light poorly. Professional results come from adjusting one variable at a time.
The best dark-circle routine is repeatable. Once you find the right corrector tone, placement map, concealer amount, and powder level, write it down or take a quick photo in natural light. A pro result is not magic. It is a set of small decisions you can repeat without starting over each morning.
Texture problems often become obvious only after expression. Smile, look up, and blink before deciding the job is finished. If product has already gathered, remove excess rather than adding more powder. A pro finish is tested on a moving face, not only on a still mirror pose.
Gloss Street’s Take
Covering dark circles like a pro is a precision skill. Correct only the color that needs correction, brighten only the shadows that benefit from brightness, and keep texture thin enough to move with the face. The result should make you look rested, not like you are wearing a mask under your eyes.
The real upgrade is restraint. A tiny amount of the right product in the right place usually beats a thick layer spread everywhere. When concealer respects the shape of the under-eye, it looks like better light instead of heavier makeup.
That is also why a dark-circle routine can stay short. Once you know the map, you may need only corrector in one tiny spot, concealer in another, and powder in a third. The routine becomes faster because it is more specific. Precision is the shortcut.