Curling Iron Results Improve When You Control the Whole Path of the Curl
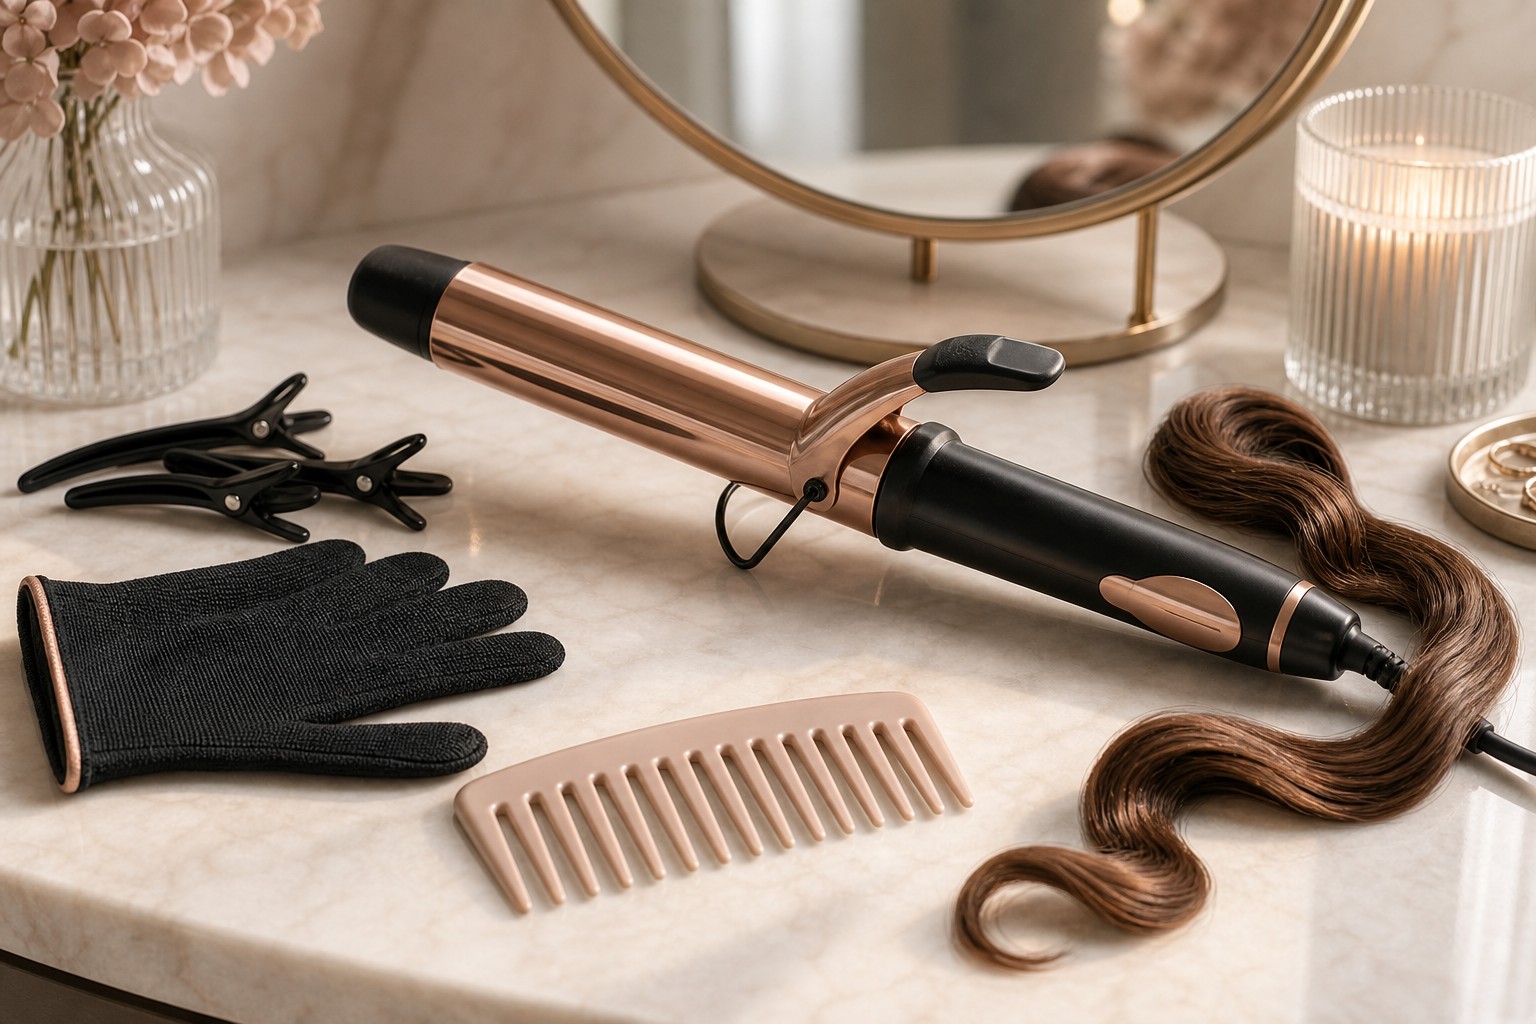
Learning how to curl hair with a curling iron is really learning how hair travels through heat, tension, direction, and cooling. The iron does not simply make curls because it is hot; it reshapes a section while the hair is wrapped, then the curl sets as it cools. That means the best results come from section size, angle, clamp placement, barrel direction, timing, and patience after the curl leaves the iron. Once you understand those moving parts, curling stops feeling random and starts feeling like a repeatable styling skill.
A: Sections may be too large, heat may be too low, or the curls may be touched before cooling.
A: Away from the face usually opens the front, while alternating directions adds natural movement behind it.
A: Use only a few seconds at the lowest heat that forms a lasting curl for your hair type.
A: No, standard curling irons should be used on dry hair to avoid steam damage.
A: Close the clamp gently, keep the strand smooth, and avoid trapping the end awkwardly.
A: Brush only after they are fully cool and only when you want softer waves.
A: The safest setting is the lowest temperature that still creates the shape you need.
A: The ends may be clamped too hard, wrapped unevenly, or left folded under the barrel.
A: Light prep can go before, but flexible hold usually works best after curls cool.
A: Use similar section sizes, mirror the barrel angle, and curl the front pieces away from the face.
Pick a Barrel for the Curl You Actually Want
Barrel size decides more than people expect. A smaller barrel creates tighter curls that can relax into waves, while a larger barrel creates looser bends that may fall faster on fine or heavy hair. If you want everyday soft movement, a medium barrel is often more forgiving than an oversized one. If your hair refuses to hold curl, starting slightly tighter may be smarter than trying to force a loose wave from the beginning.
Hair length also changes the choice. Short hair may need a smaller barrel so there is enough wrap to create shape. Very long hair can swallow a small barrel and produce a springier result than intended. Medium lengths usually have the most flexibility. The best barrel is not the trendiest size; it is the one that gives your hair enough bend to survive brushing, weather, and time.
Consider the clamp too. A traditional clamp can create polished curls when handled gently, but it can leave dents if the hair is trapped awkwardly. A longer barrel helps long hair fit without overlapping too much. A tool with adjustable heat is better than one fixed at a scorching setting, because different hair textures need different temperatures.
The haircut matters too. Long layers show curling direction beautifully because the pieces can separate and swing. A blunt cut may need looser brushing at the end so the curled perimeter does not look too round. Face-framing layers often need a slightly different angle from the back of the head. Treating every section as identical can make the style look less natural than the tool deserves.
Prep Hair So Heat Can Work Evenly
Curling works best on dry hair that has some grip but is not overloaded with product. Wet or damp hair should not be curled with a standard iron because trapped water can turn to steam and damage the hair. If hair is freshly washed and too slippery, a light mousse, heat protectant, or texture spray can help give the section memory. If hair already has product buildup, curls may feel stiff or collapse unevenly.
Heat protectant matters, but it should be applied before styling and allowed to dry if the formula is wet. Spraying a damp product and immediately clamping heat over it can create sizzling and uneven texture. Comb through the prep so it reaches more than the top layer. Protection needs distribution, not just a mist near the mirror.
Detangle before sectioning. Knots make the iron drag, and dragging creates roughness. Smooth sections produce cleaner curls because the hair wraps evenly around the barrel. A few extra minutes of prep can save you from redoing half the head later.
Section for Control Instead of Speed
Section size changes the curl more than extra heat does. A thick section may look warm on the outside while the middle barely changes shape. A very tiny section may curl too tightly or look busy. For most curling iron styles, a section about one to two inches wide is manageable, but density matters. Thick hair may need narrower sections, while fine hair may curl with slightly larger pieces.
Clip away the hair you are not curling. Working through loose hair creates missed pieces, repeated heat, and confusion about direction. Start at the lower layers if you want an organized finish, then move upward. Around the face, take smaller and cleaner sections because those pieces are the most visible.
Sectioning is also how you protect hair from unnecessary heat. When you know which pieces are done, you stop reclamping the same strand. That alone can reduce dryness over time. A good curling routine should feel deliberate, not like chasing random flat pieces until everything looks hot and tired.
Clipping also gives your arms a break because the work becomes predictable. Instead of holding random hair away from the iron, you know exactly which section is active and which pieces are finished. That reduces accidental burns and repeated heat on the same strand. A tidy setup may feel fussy at first, but it usually makes the styling session shorter and calmer.
For very dense hair, divide the head by depth as well as height. The surface layer may be easy to curl, while the hidden middle stays bulky and undefined. Taking shallower sections lets curls form inside the hair, not only on top of it. That inner structure is what keeps the final style from looking pretty for ten minutes and flat by lunch.
Wrap With Direction and Tension
Curl direction affects the final style. Curling away from the face opens the front pieces and usually looks softer around the features. Alternating directions through the back can create more natural movement and prevent curls from merging into one large roll. Curling everything in the same direction can look polished, but it may also turn into one uniform wave if you brush it strongly.
Keep tension steady but not harsh. The hair should sit smoothly against the barrel without being yanked. If using a clamp, close it lightly and glide or roll so the ends do not crease. If the ends are fragile, leave the last inch out for a modern wave or clamp it only briefly. The way the ends sit often decides whether the curl looks current or overly formal.
Use Heat Like a Measured Tool
More heat is not automatically better. Fine, fragile, highlighted, or chemically treated hair usually needs a lower temperature than coarse resistant hair. Start lower than you think, test one section, and increase only if the curl truly will not form. Hair that smells scorched, steams, or feels rough afterward is telling you the setting or technique is too aggressive.
Timing should be short and consistent. Most sections need only a few seconds once wrapped, depending on hair type and tool temperature. Holding every curl forever can make the style look stiff and increase damage risk. A better strategy is appropriate heat, smooth wrapping, and proper cooling.
Do not clamp the same section repeatedly because it did not look perfect on the first try. Let it cool, judge it later, and touch up only if necessary. Hot hair can look looser than it will once it sets, or tighter than it will after brushing. Patience prevents overcorrection.
Let Curls Cool Before You Touch Them
Cooling is the quiet step that makes curls last. Hair changes shape with heat, but it holds that shape better once it cools in place. If you brush, rake, or tug the curl while it is still warm, you can pull out the structure before it has finished setting. Let curls hang, clip them loosely, or cup them for a few seconds if your hair drops quickly.
This is especially important for fine or long hair. The weight of the hair can stretch a warm curl before it has a chance to firm up. If hold is always your issue, improve cooling before adding more hairspray. A curl that never set properly cannot be rescued completely by product afterward.
When the whole head is cool, use fingers, a wide-tooth comb, or a soft brush depending on the finish you want. Fingers keep more definition. A brush creates fuller waves. A comb can separate without fluffing too much. Finishing begins only after the heat work is done.
Cooling also helps you judge the style more accurately. Warm curls can look springy and dramatic, then relax into exactly the softness you wanted. If you brush them too early because they look too tight, you may remove the shape before it has a chance to settle. Letting the head cool gives you a truer picture before finishing.
Finish for Movement, Not Helmet Hold
The right finishing product depends on the problem. Flexible hairspray helps curls stay without making them crunchy. Texture spray adds airy separation when hair looks too smooth. A tiny amount of serum can soften frizz on the ends, but too much shine product can weigh curls down. Put product where it solves something instead of misting everything equally.
Shake at the roots if the style looks flat. Lift sections and spray lightly from underneath rather than shellacking the top. If curls are too tight, let them relax naturally before brushing more. If curls are too loose, touch up only the visible pieces instead of reheating the full head.
Gloss Street’s curling rule is simple: shape, cool, then finish. When sectioning, heat, direction, and cooling all work together, the curling iron becomes predictable. The result should look like styled movement that can still move, not a stiff set of identical spirals.
If the style needs softness, break up only the mid-lengths and ends while leaving the root shape alone. If the style needs volume, lift from underneath rather than roughing the polished top layer. If the style needs shine, treat the frizziest tips instead of coating every curl. Finishing looks better when it responds to the specific problem in front of you.
Second-day curls need a different touch than fresh curls. Mist only the pieces that have collapsed, reshape them briefly, and let them cool again. Dry shampoo at the roots can restore lift without dulling the lengths. Re-curling every strand on day two usually creates a heavier, drier result than selective repair.
When the Curl Pattern Looks Too Perfect
A curling iron can create curls that look overly uniform, especially when every section is the same size and direction. To soften that effect, vary a few back sections slightly, leave the ends a little straighter, and break up the shape with fingers after cooling. The goal is not disorder. It is enough variation that the hair looks styled by a person rather than stamped by a tool.
Face-framing pieces can remain more intentional because they set the mood of the style. The back can be looser, more mixed, and less exact. This contrast often makes the overall look feel modern. A polished front with relaxed movement through the length is easier to wear than a head full of identical spirals.
If the curls still feel too perfect, change the finish before changing the tool. Break the pattern with a small amount of texture spray through the mid-lengths, then loosen only the pieces that sit too neatly. Keeping some definition near the face prevents the style from becoming messy. The best correction is usually selective, not a full brush-out. That restraint keeps the shape wearable after the first mirror check all day too.