At-Home Laser Hair Removal Works Best When Beginners Respect the Rules
At-home laser hair removal sounds beautifully simple: buy a device, press a button, and watch unwanted hair fade from your routine. The reality is more careful than that, and that is a good thing. Most home devices are intense pulsed light, often called IPL, rather than the same lasers used in clinics. They can reduce hair growth over time for the right candidate, but they require consistency, correct skin tone and hair color matching, cautious settings, and patient expectations. They are not instant erasers, and they are not safe for every person or every body area. A beginner’s best advantage is not bravery. It is reading the manual, understanding the safety chart, preparing the skin properly, and treating sessions like skincare with consequences.
Know What At-Home Devices Can and Cannot Do
Most at-home hair removal devices use light energy that targets pigment in the hair. The energy travels down the hair shaft and affects the follicle enough to slow regrowth over repeated sessions. Because pigment is the target, the method usually works best on darker hair against lighter surrounding skin. It tends to work poorly on very light blonde, red, gray, or white hair because there is not enough pigment for the device to target effectively. That does not make the technology fake. It means candidacy matters. If your hair and skin contrast fits the device’s chart, you may see less dense growth, slower regrowth, and easier maintenance. If you are outside the recommended range, forcing it can be ineffective or unsafe.
Read the Skin Tone Chart Before Anything Else
The skin tone chart is not decorative paperwork. It is a safety tool. Light-based devices can confuse pigment in the skin with pigment in the hair when the skin is deeper than the device is designed to treat.
That can increase the risk of burns, blisters, and discoloration. Some modern devices include sensors that reduce this risk, but sensors do not replace the instructions. Check each treatment area, not just your face or arm.
Skin tone can vary across the body, and recent tanning changes the calculation. If an area is tanned, sunburned, or recently self-tanned, wait. Light devices and extra pigment are not a casual combination.
Choose the Right Areas for a First Try
Beginners should start with straightforward areas where the skin is healthy, the hair is suitable, and visibility is good. Lower legs and underarms are common starter zones. The bikini line can be treated by some devices, but it requires more caution because the area is sensitive, curved, and prone to irritation. The face should only be treated if the device specifically allows it, and never near the eyes.
Avoid tattoos, moles unless the manual gives clear guidance, active rashes, open cuts, varicose veins, and areas with recent cosmetic procedures. Do not use home devices over makeup, deodorant residue, perfume, or heavy body lotion. Clean skin reduces surprises.
Shave First, Do Not Wax First
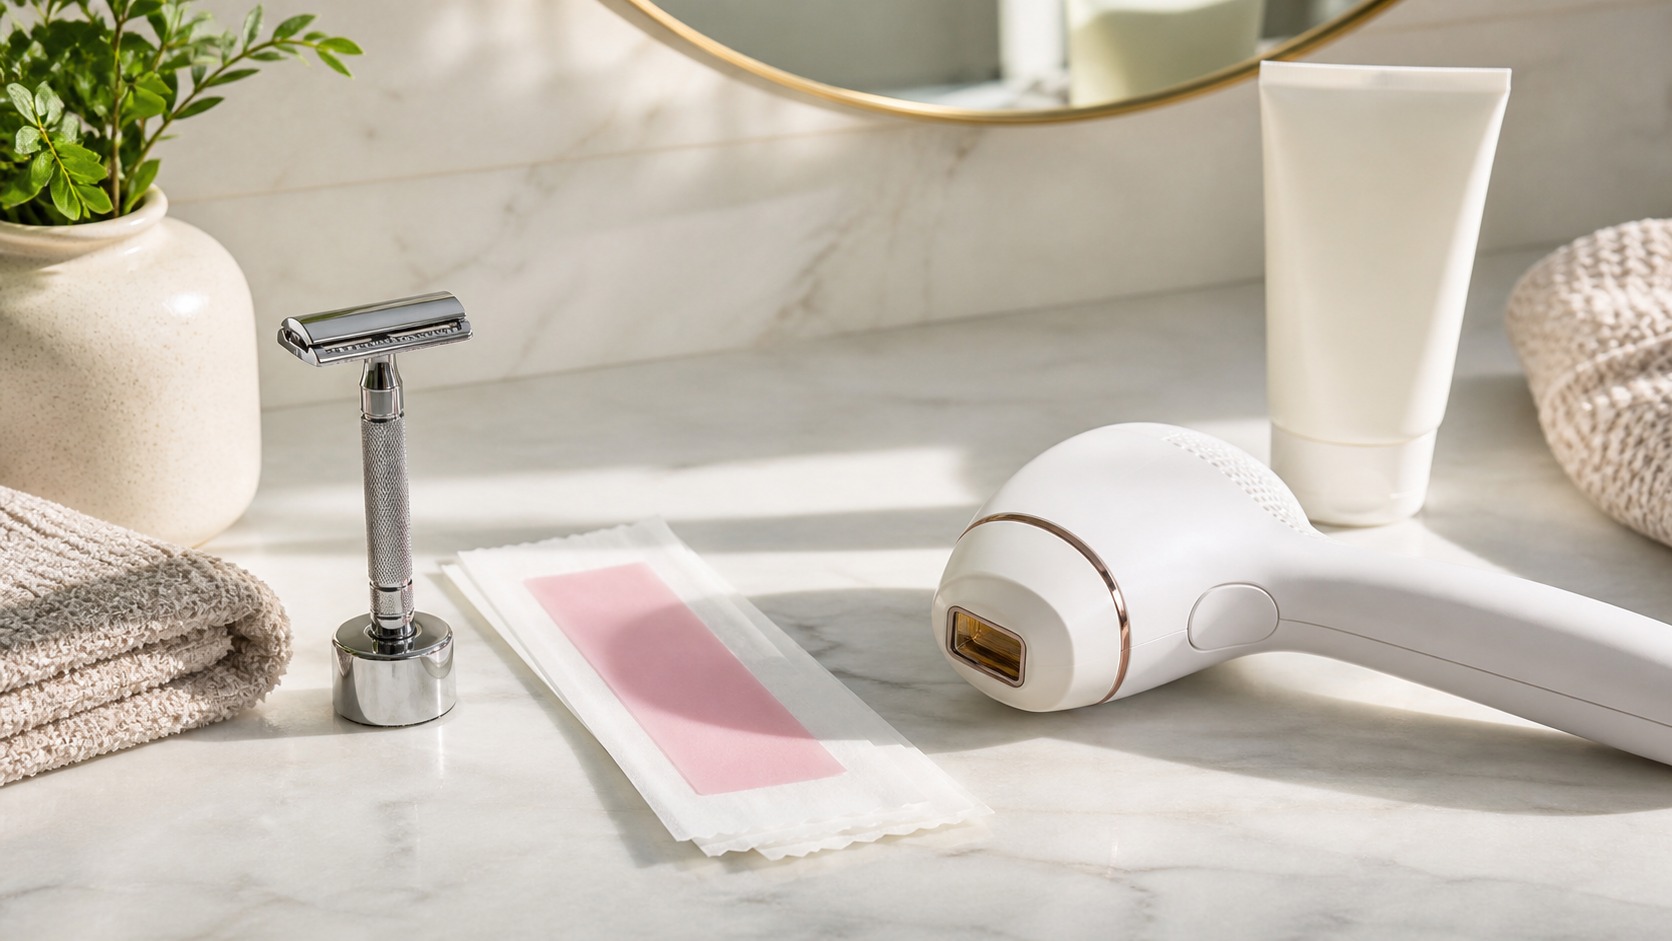
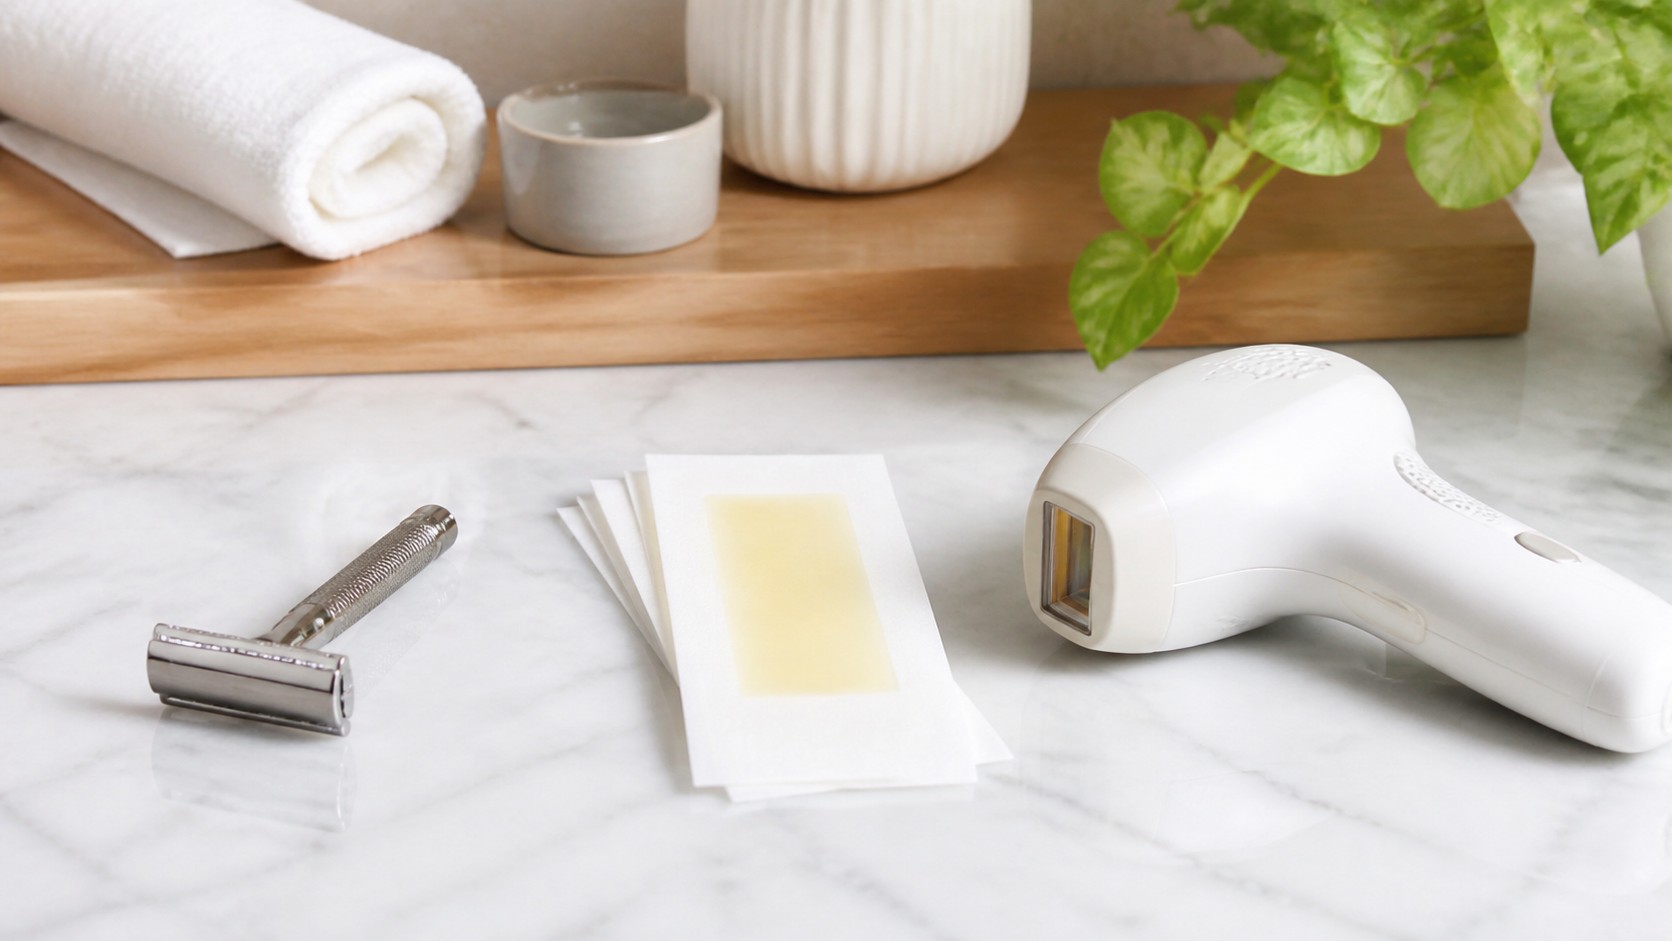
Before a session, the treatment area usually needs to be shaved. Shaving leaves the follicle target under the skin while removing surface hair that could burn or waste energy. Waxing, plucking, and threading remove the hair from the root, which means the device has less to target. If you have waxed recently, wait until the hair cycle returns enough for the device to work as intended. Shave gently and avoid treating immediately over razor burn. If the skin is nicked or irritated, postpone. Beginners sometimes rush because they are excited to start, but light energy on compromised skin is a poor trade.
Start Low and Patch Test
Many devices offer several intensity levels. More power is not automatically better, especially during your first session. Start with a low setting allowed for your skin tone and treatment area. Do a small patch test, wait as instructed, and watch for unusual redness, swelling, pain, or blistering. Mild warmth can be expected; sharp pain is feedback to stop.
Patch testing teaches you how your skin responds without turning an entire leg into an experiment. If the patch looks and feels normal after the waiting period, proceed carefully. If it does not, do not bargain with the device. Your skin already answered.
Build a Schedule You Can Actually Follow
At-home results come from repeated sessions, not one heroic pass. Many devices recommend treatment weekly or every two weeks at first, then less often for maintenance.
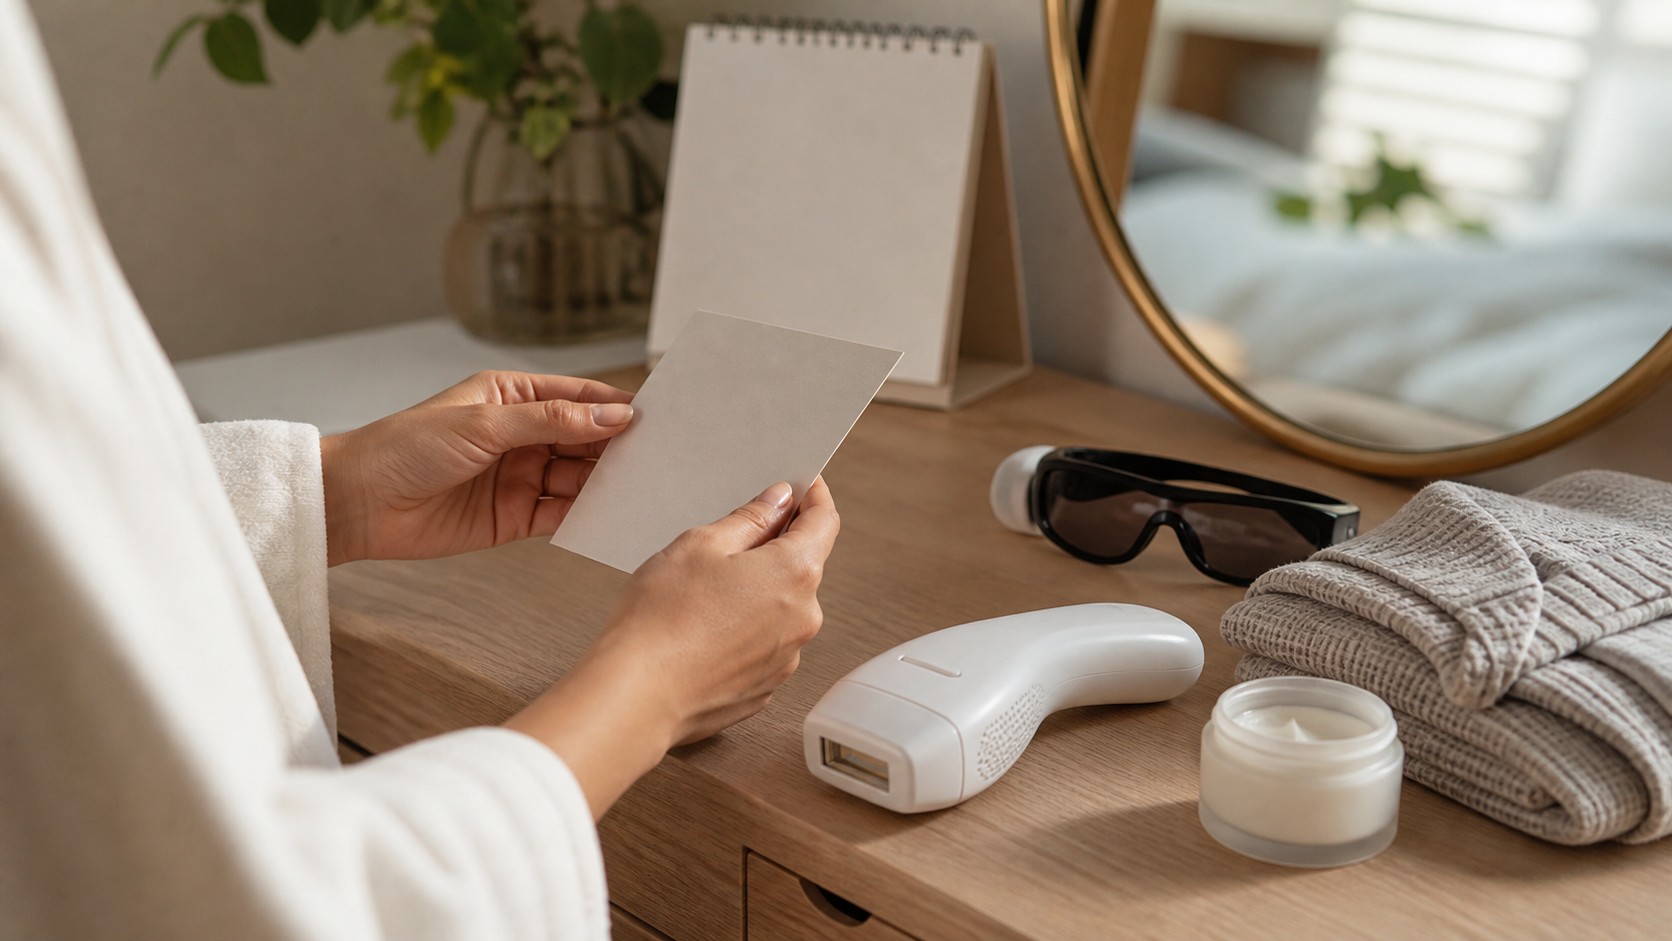
Follow your specific manual because timing varies. Treating too often can irritate the skin without improving results, while treating too rarely may slow progress. Put sessions on a calendar and photograph progress if that helps motivation.
Hair reduction is gradual, and the change may be easier to see after several weeks than after one session. Expect patchy improvement before perfect smoothness. Follicles do not all operate on your preferred timeline.
Protect Your Eyes and Respect Sensitive Zones
Never flash a device near the eyes unless the manual specifically permits a facial attachment and gives exact boundaries. Even then, caution matters. Do not use at-home IPL on brows or eyelids. Protective glasses, when provided or recommended, should be used as directed. The light is powerful enough to deserve respect. Also avoid mucous membranes, nipples unless allowed by the manual, genitals, and any area where you cannot place the device flat and see what you are doing. If a body zone feels awkward, that is a sign to slow down or choose professional help.
Aftercare Should Be Plain and Boring
After a session, keep the treated area calm. Use a simple moisturizer or aloe product your skin already tolerates. Avoid hot baths, saunas, heavy workouts, exfoliating acids, retinoids on the area, fragranced body products, and sun exposure for the window recommended by your device. If the skin feels warm, a cool compress can help.
Sun protection matters between sessions. Treated skin that tans or burns can become unsafe for the next round and more prone to discoloration. If you are treating legs in summer, plan around your actual outdoor life.
Know When At-Home Is the Wrong Choice
At-home devices are not ideal for everyone. Pregnancy, certain medications, photosensitivity disorders, a history of keloids, active skin disease, recent isotretinoin use, and other medical factors may make treatment inappropriate. Device manuals list contraindications for a reason. If you are unsure, ask a healthcare professional before starting. Professional treatment may be smarter if you have deeper skin, hormonal facial hair, a history of pigmentation problems, or an area that is hard to treat safely alone. Clinics can offer technologies and expertise that home devices do not.
How to Avoid the Most Common Beginner Mistakes
The biggest beginner mistake is treating the device like a shortcut instead of a system. Skipping the manual, ignoring the skin tone chart, using the highest setting immediately, flashing over a tan, or repeating passes over the same patch can turn a useful tool into an irritation machine.
Another common mistake is waxing between sessions because the skin feels smooth afterward. That removes the target the light needs, which can slow progress.
Beginners also underestimate how much organization helps. Keep the device charged, clean the treatment window as directed, schedule sessions, and store the device where it will not be forgotten. Consistency does more for results than one overly aggressive session.
What to Do If Your Skin Reacts
If the treated area becomes more than mildly pink or warm, stop and reassess. Cool the skin gently, avoid heat and fragrance, and do not treat again until everything feels normal. Blistering, strong pain, swelling, or lingering discoloration should prompt professional advice. Do not cover a reaction with actives, exfoliation, or another flash session in an attempt to fix it faster. A reaction does not always mean the device can never be used, but it does mean something in the plan was wrong: the setting, timing, skin condition, recent sun exposure, body area, or candidacy. Let the skin recover before drawing conclusions.
Pick a Device for Safety Features, Not Just Speed
Beginner-friendly devices should make caution easier. Skin tone sensors, clear contact indicators, sensible intensity levels, and well-written instructions are more valuable than flashy claims about treating the whole body in minutes.
A fast device is only helpful if you can use it correctly. Look for a shape that sits flat on the areas you plan to treat and attachments that match your real routine, not an imaginary one.
Replacement policies and customer support also matter. If you are uncertain about your hair color, skin tone, or treatment area, you want a brand that explains limitations clearly. Vague promises are less useful than honest charts.
Map the Area Before You Start Flashing
At-home sessions go better when you treat the area like a grid. Work in small sections, overlap only as the manual allows, and avoid repeatedly flashing the same spot because you lost track. Legs, for example, can be divided into front, outer side, inner side, and back. Underarms may need a mirror and a slower pace because curves make full contact harder.
Good mapping prevents missed stripes and hot spots. It also makes progress easier to judge because you are treating the same area consistently each time. Random flashing feels quicker in the moment but often creates uneven results.
Maintenance Is Part of the Promise
Many beginners expect a device to finish the job forever once the first schedule is complete. A better expectation is reduction plus maintenance. After the initial phase, some areas may need occasional touch-ups when growth becomes visible again. Hormones, age, medications, and genetics can all influence regrowth. That does not mean the device failed; it means hair biology is still alive. Maintenance becomes easier when you keep notes. Record the date, area, setting, and any reaction. Those notes help you avoid treating too soon and help you remember which settings were comfortable.
Pause When the Skin Is Not Neutral
At-home light treatments should happen on boring skin. Postpone a session after sunburn, fresh self-tanner, razor burn, active eczema, unexplained bumps, or a new medication that may increase photosensitivity. Waiting a week is less frustrating than creating a mark that takes months to fade. Beginners often want consistency, but smart consistency includes knowing when to skip. If you are uncertain, choose the conservative setting or delay the session until the skin gives a calmer signal.
Comfort Should Stay Predictable
A reliable session feels controlled from start to finish.
Warmth is expected, but escalating pain, a lingering burn, or unusual swelling is not part of a normal learning curve.
Your goal is repeatable comfort, because repeatable comfort is what lets a beginner complete the full schedule safely.
What Good Results Look Like
Good at-home results usually look like slower growth, finer regrowth, fewer shaving days, and less dense hair over time. They do not usually look like overnight permanent removal. Maintenance may still be needed, and hormonal changes can influence regrowth. If you understand that from the start, the process feels less disappointing and more like a long-term grooming tool. Gloss Street’s beginner rule is simple: let the manual be the boss, let your skin set the pace, and let patience do its part. At-home laser or IPL can be genuinely useful, but only when safety is treated as part of the beauty routine, not as a boring paragraph to skip.